Journal · 3 entries
Journal
Notes from the workshop: building instruments, tools and jigs.
 building
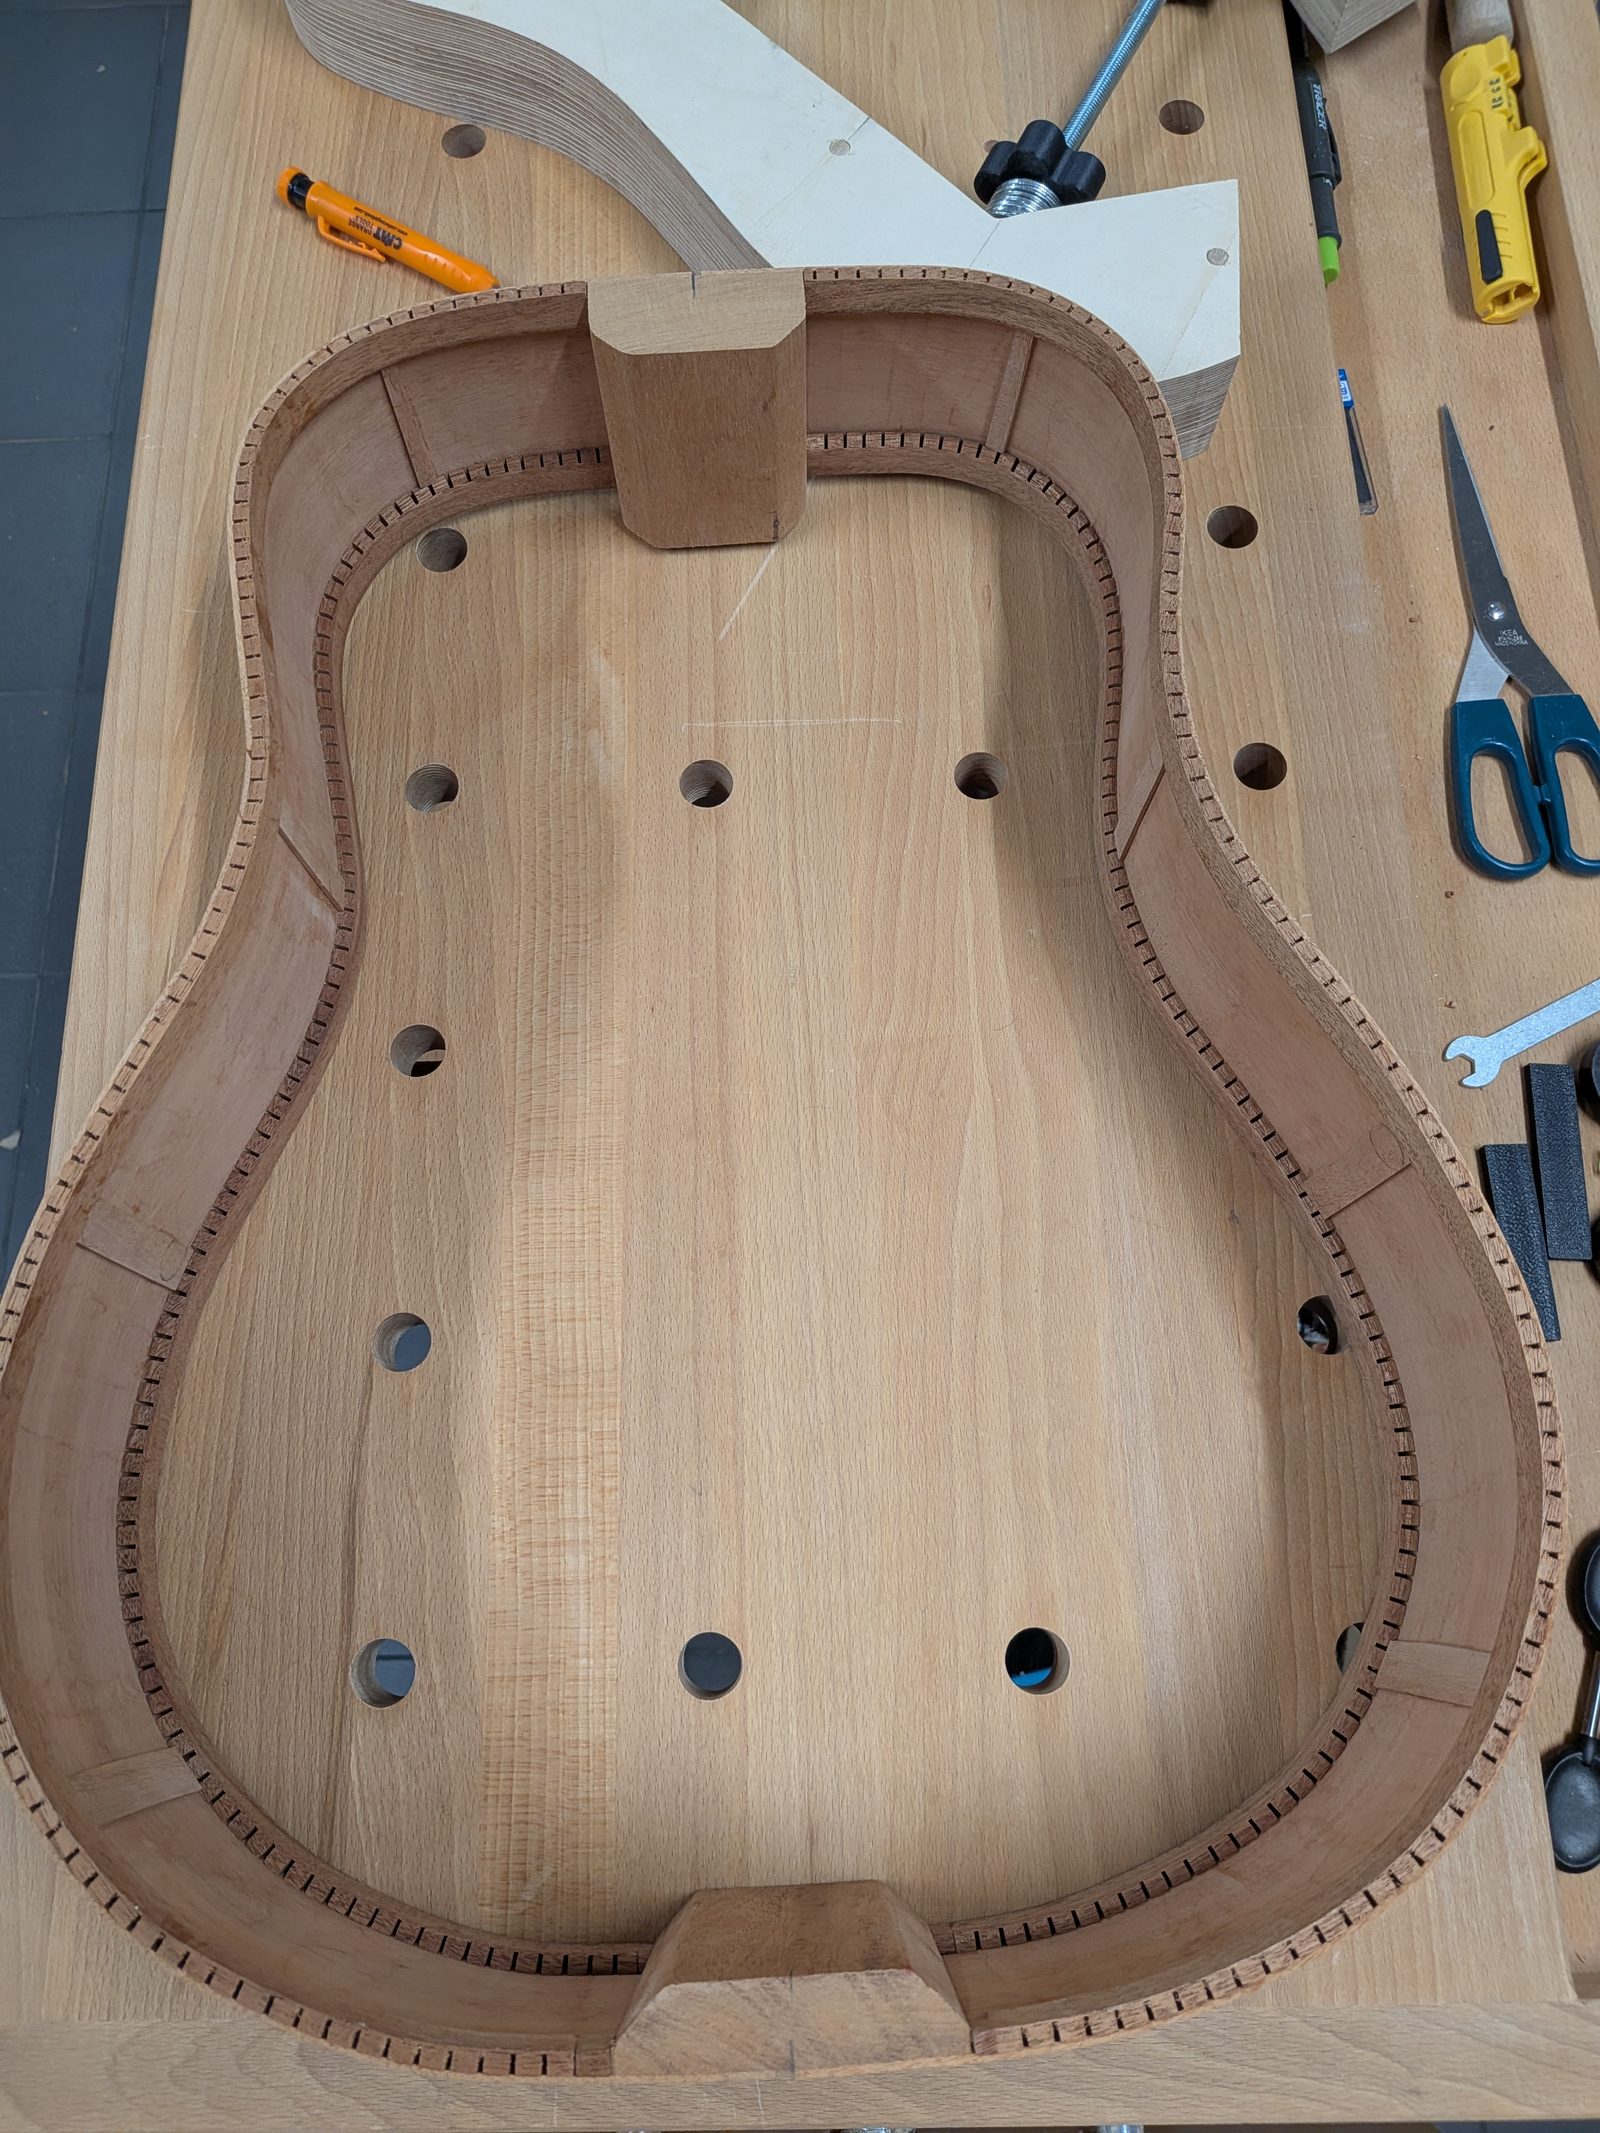
Radius dish, linings and side braces – the rim is ready for the plates
The rim went onto the radius dish — the edges of the sides were sanded to the arch of the top and the back, each a different one. Then I glued in the linings (reverse-kerfed, mahogany), which give the plates a gluing surface, and side braces (also mahogany), so that a crack, should one ever happen, doesn’t run the full height of the side. The rim is ready for the plates.
Read the entry →
-
20263 entries
-
building
Radius dish, linings and side braces – the rim is ready for the plates
The rim went onto the radius dish — the edges of the sides were sanded to the arch of the top and the back, each a different one. Then I glued in the linings (reverse-kerfed, mahogany), which give the plates a gluing surface, and side braces (also mahogany), so that a crack, should one ever happen, doesn’t run the full height of the side. The rim is ready for the plates.
-
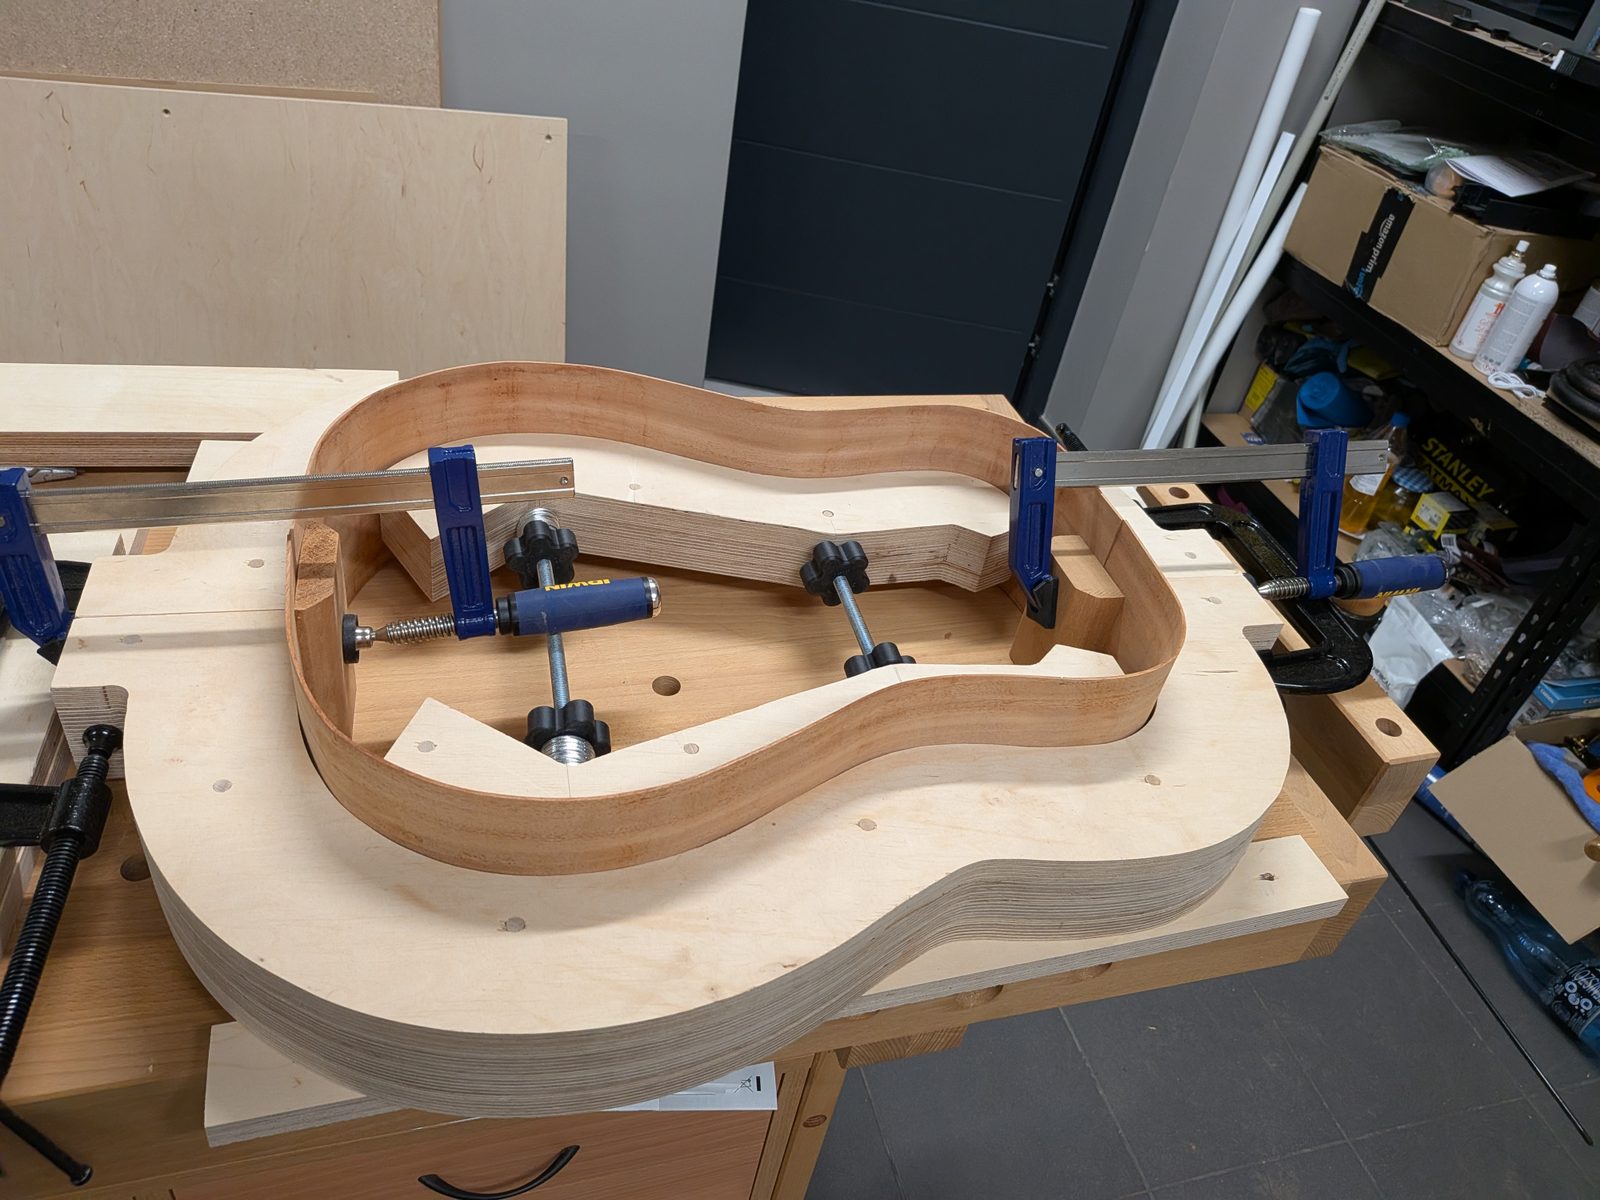 Making and gluing the neck block and tail block
For the blocks I used mahogany, the same as for the sides. I trimmed the sides to length. I fitted the neck block to the rounded end of the mold and shaped the tail block to the curve of the lower bout. I glued both in place in the mold, joining the sides into a closed rim. For the first time, the body has its shape.
-
 building
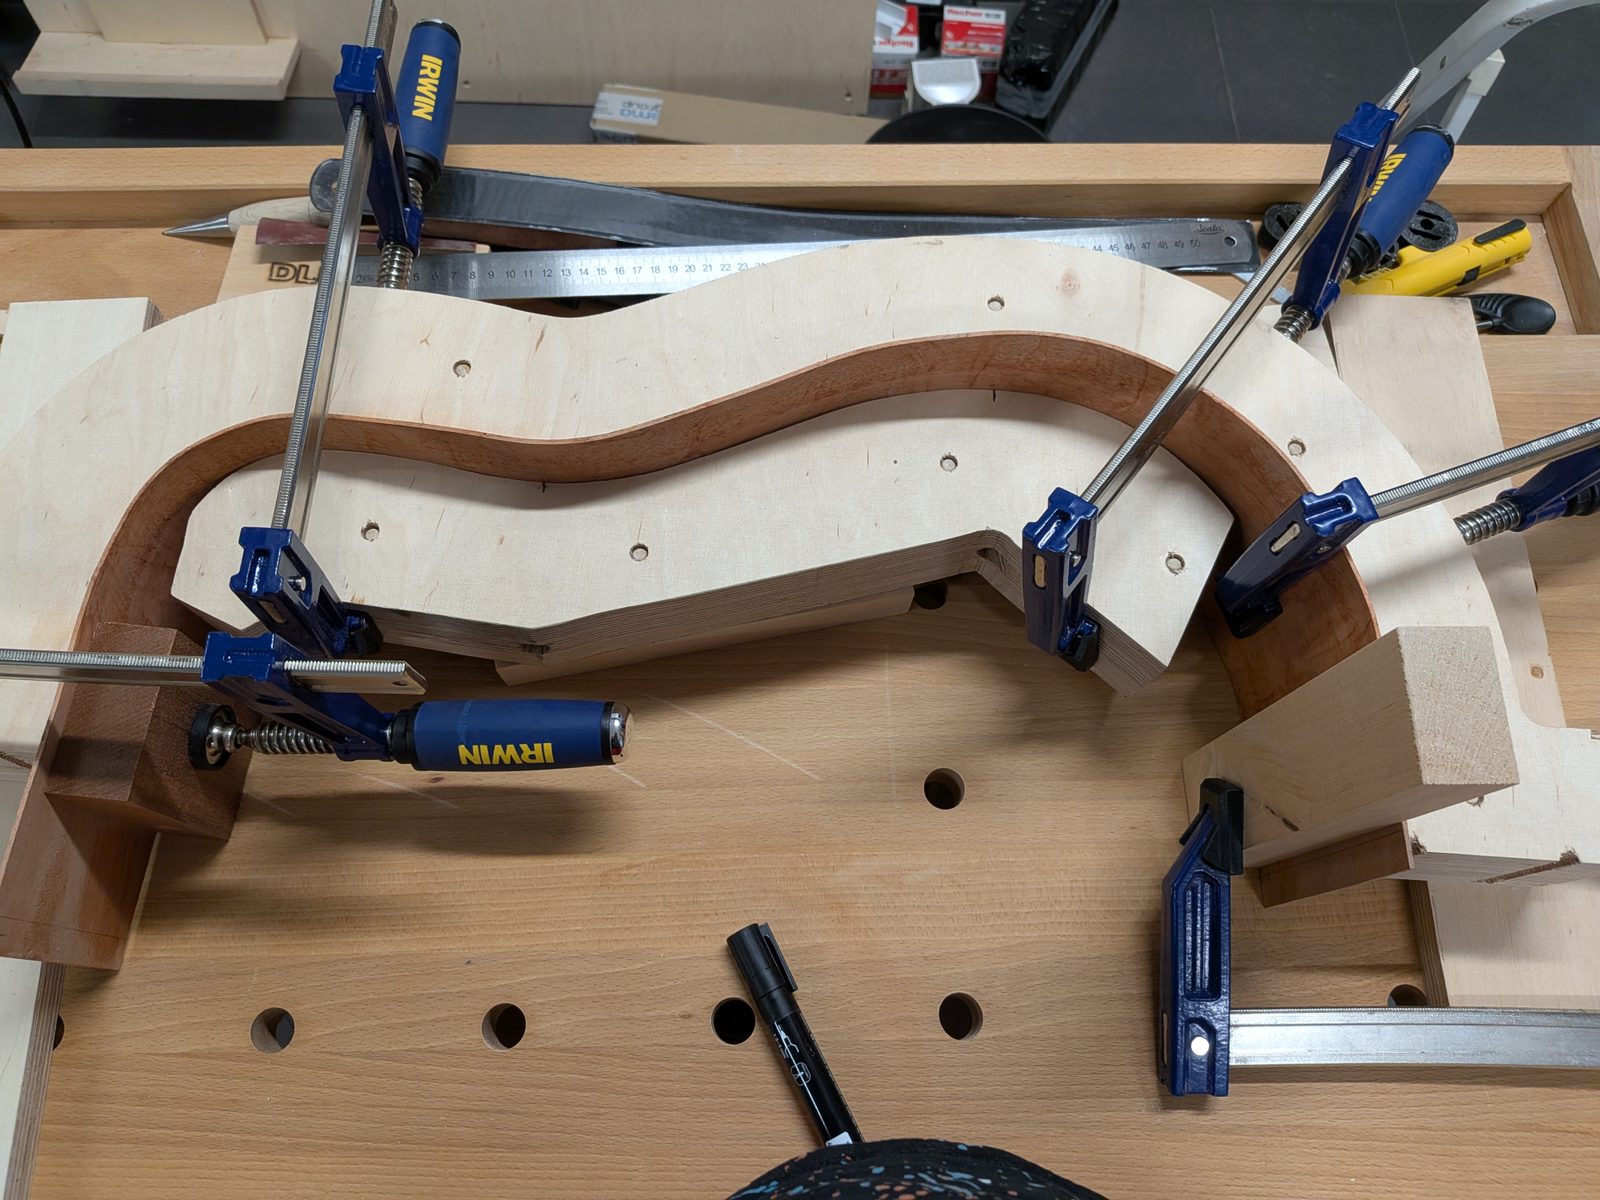
Thinning and bending the sides.
For the sides of my first guitar I chose American mahogany. I rough-cut them to profile — the final contour will be sanded in later on the radius dish — then thicknessed them to the target thickness and bent them on the bending iron. After bending, I left them to cool and set in the body mold.
-