01Blocks – closing the body into a rim
The sides came out of the mold holding their shape, so it was time to trim them to length. A simple step, but an irreversible one: once cut, they won’t grow back. I measured each side from the waist in both directions, holding it against the mold, and cut so that the ends would land in the middle of the blocks. I didn’t try to make the two halves meet in a perfect joint — and that’s not laziness, it’s a conscious decision. The gap at the neck block will disappear under the heel of the neck anyway, and the one at the tail block will be covered by a decorative wedge, an end graft inlaid into the sides. If a gap is going to be hidden, there’s no point fighting over it for hours. Better to save the energy for the places that will actually be seen.
Both blocks are mahogany — the same species as the sides. There’s no magic here: the neck block has to hold the neck and transfer the string tension into the body, while the tail block ties the sides together at the bottom and gives the strap button something to anchor into. Both need to be stable and stiff, and mahogany is light, doesn’t move and takes glue well.
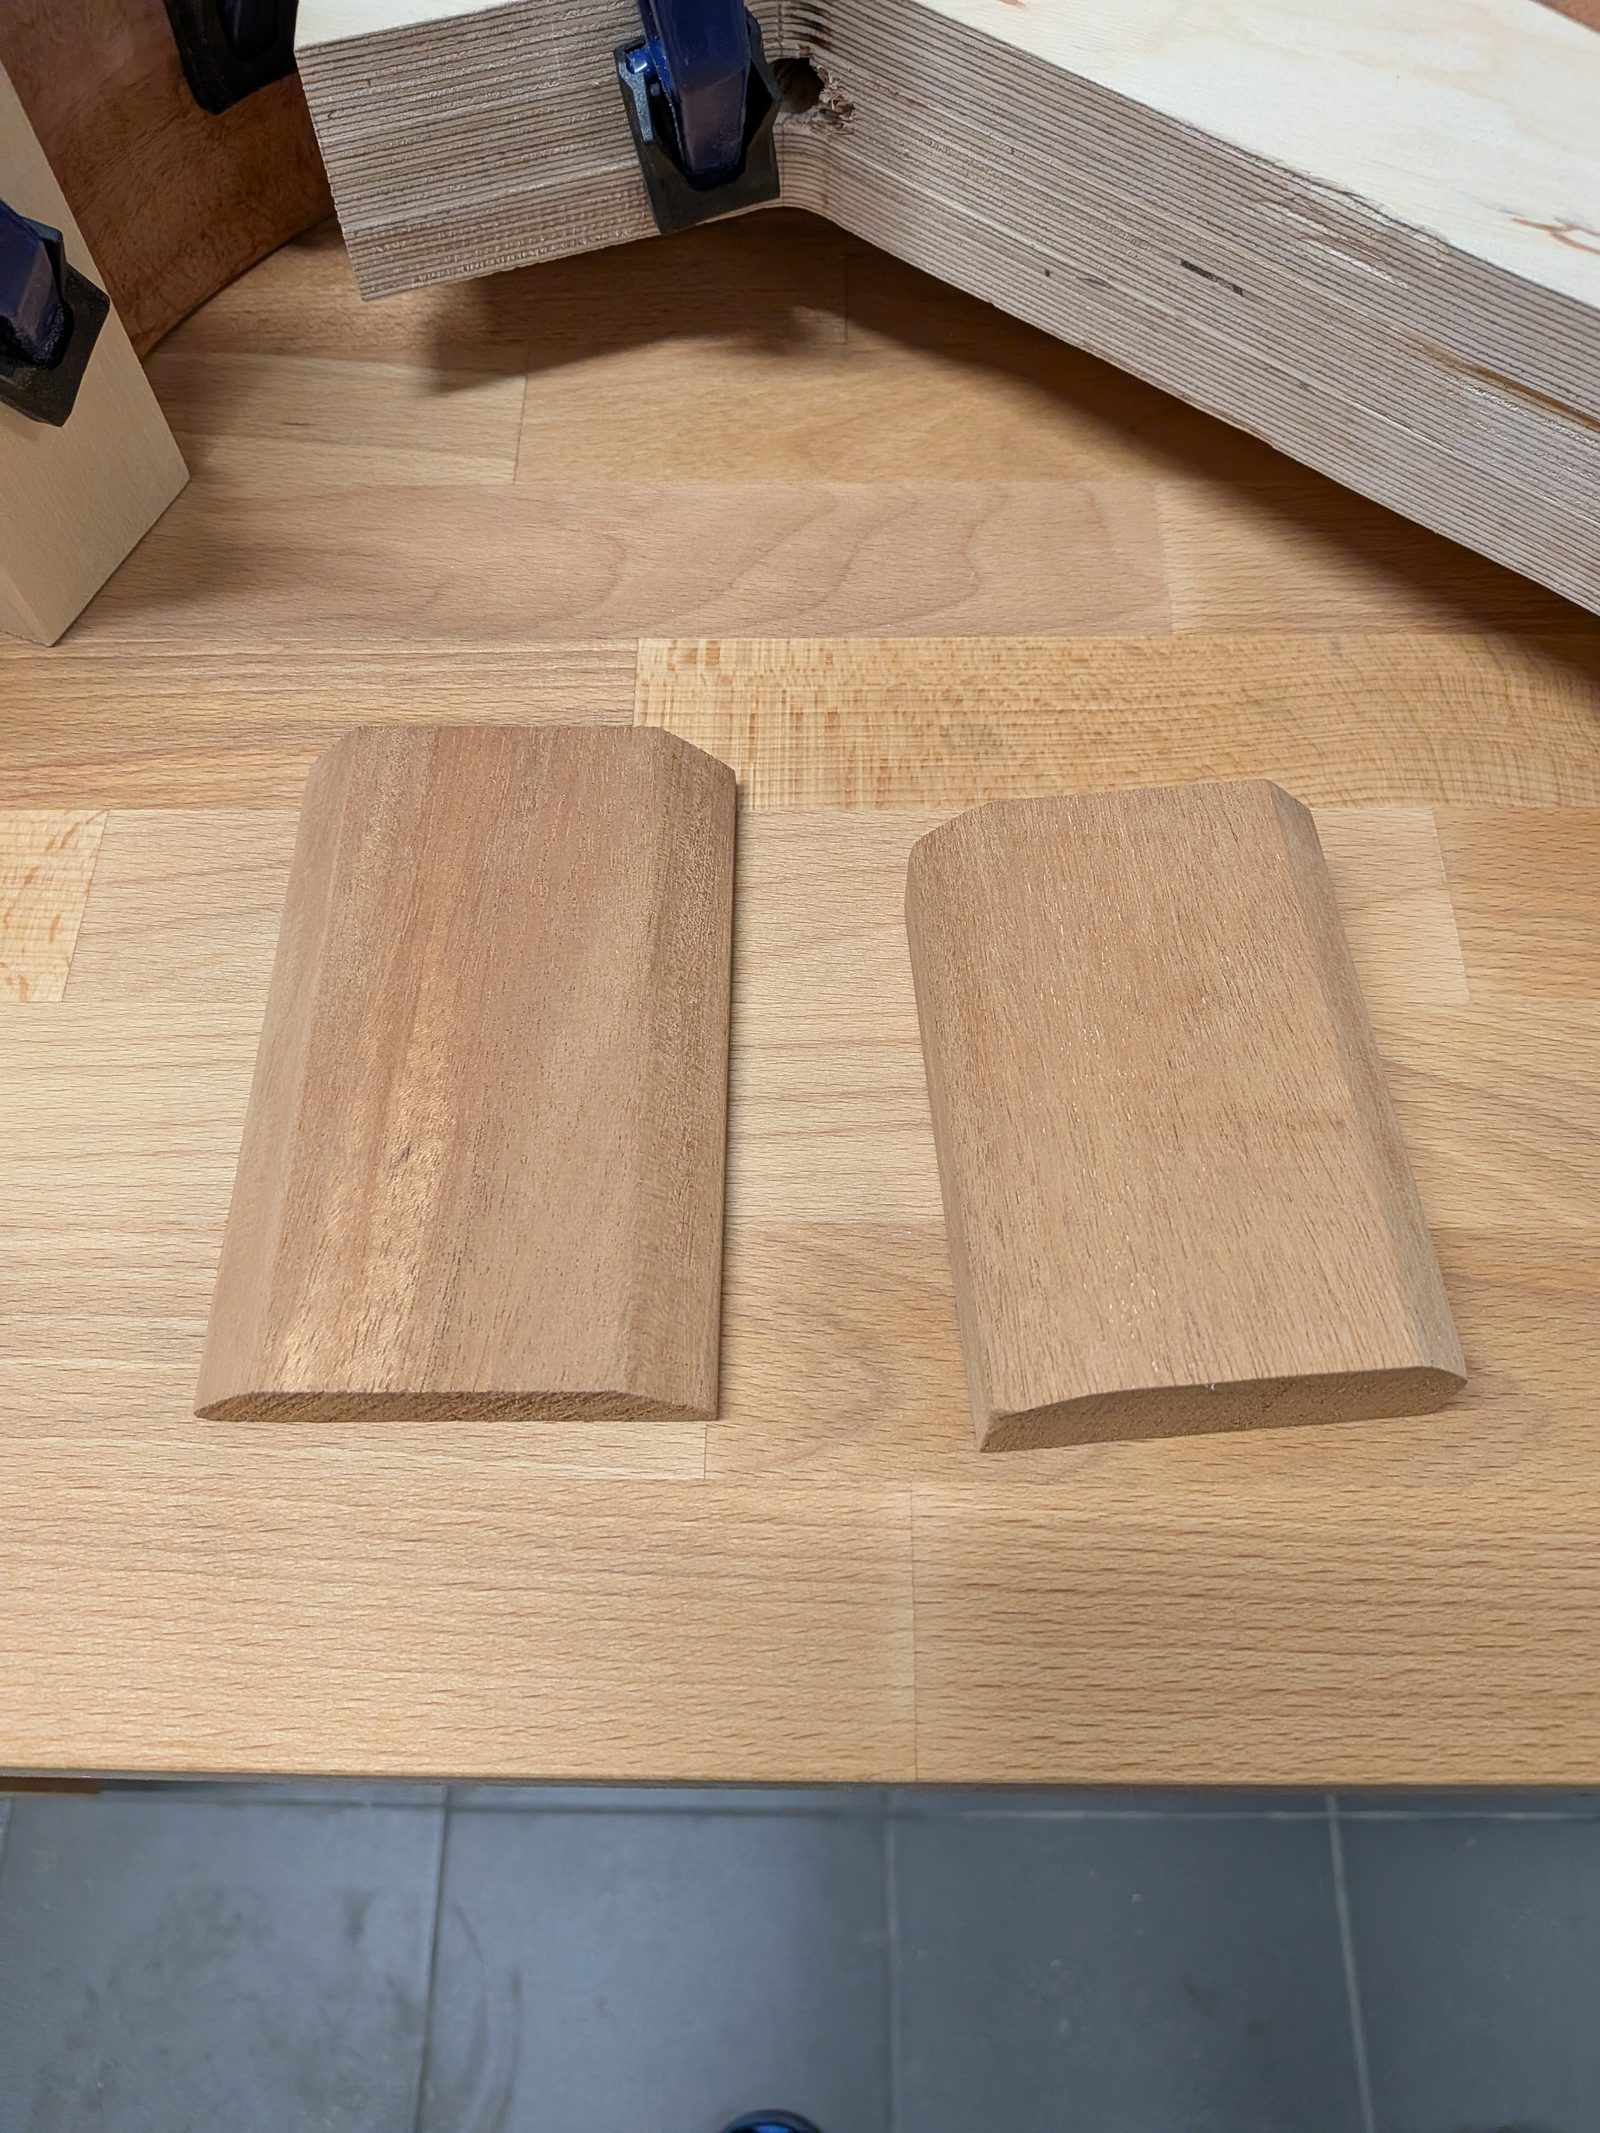
The neck block is the bigger and more important of the two. For this first guitar I made it from a single piece; in future I’ll probably go for a laminated block with alternating grain. The mold has a rounded end on the neck side, so the face of the block had to get the same curve — otherwise the sides wouldn’t sit flush across their full width and the whole point of the block would be lost.
The tail block is smaller, but it needs the same care: its outer face has to be shaped precisely to the curve of the lower bout, because that’s where the ends of the sides meet and that’s where the end graft will be inlaid.
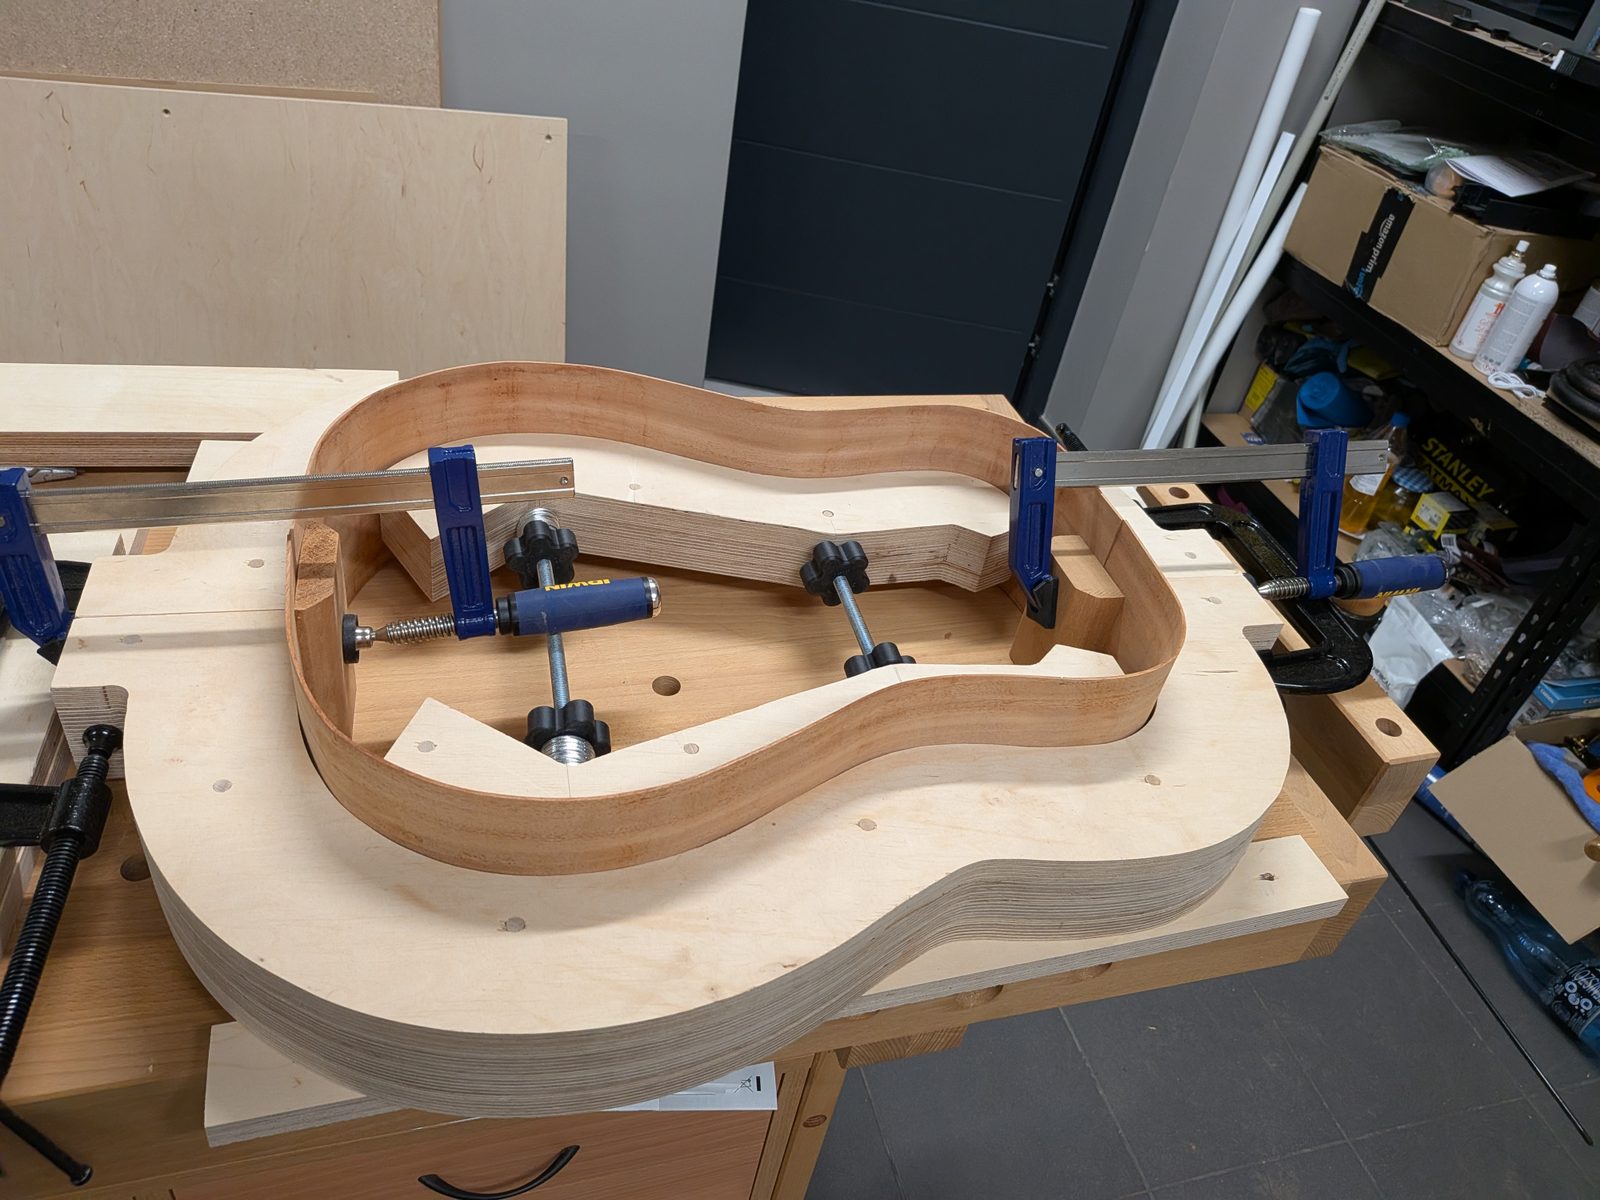
I did the gluing in the mold. Sides in, blocks slid into place, glue, spreaders, clamps and then waiting. The main thing was making sure the blocks sat square to the plane of the sides and exactly on the centreline of the body — the neck block decides whether the neck will later point straight, and the tail block whether the end graft will come out symmetrical.
When I released the clamps and lifted the rim out of the mold, for the first time I was holding something in my hands that looked like a guitar. No top, no back, no linings, nothing yet — but the shape was there.
Next step: radius dish and kerfed linings.